So these are swatches I colored this week. Feel free to use them in your personal projects. Do not share the images. You should direct them here to get a colored version and from here they will be given info on where to obtain a black-and-white image.
IMAGE: TALES OF POLLYCRAFT
PROMARKERS
Skin: Soft Peach, Sun-kissed Pink, Ivory,
Pink Lobster
Hair: Tropical Orchid, Pink Carnation, Pink Lobster, Blossom,
Pink Mittens, Fuchsia Pink, Plum, Mulberry, Cerise
Clothes and Accessories: Ice Grey #1 - #5, Black, Pastel Blue, Tawny Owl
Purple, Spring Lilac
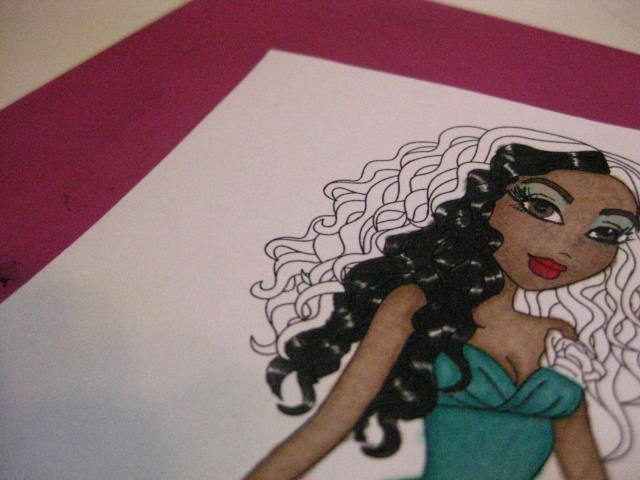
IMAGE: ANJI'S ANTICS
PROMARKERS
Skin and Hair: Sandstone, Tan, Caramel, Cocoa, Henna, Umber,
Sun-kissed Pink, Dusky Pink
Hat and Clothes: Cool Grey 2, Cool Grey 5, Burgundy, True Blue, Blue Pearl,
China Blue, Midnight Blue, Artic Blue, Indigo Blue, Cobalt Blue
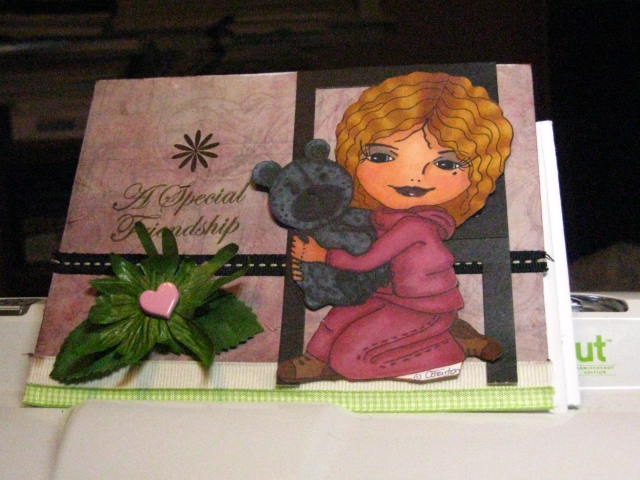
IMAGE: BEYOND THE FRINGE
PROMARKERS
UNFORTUNATELY, I DID NOT MAKE A LIST OF COLORS
IMAGE: SASSY STUDIO DESIGNS
PROMARKERS
Hair: Ivory, Sandstone, Buttercup
Skin and Eyes: Soft peach, Blush, Ivory, Powder Blue
Flowers: Grass Green, Lush Green,
Meadow Green, Gold
Dress and Shoes: Peach, Baby Pink
IMAGE: ROBERT JACKSON
PROMARKERS
Warm Grey
Ice Greys #1 - #5
Sharpie White Highlighter
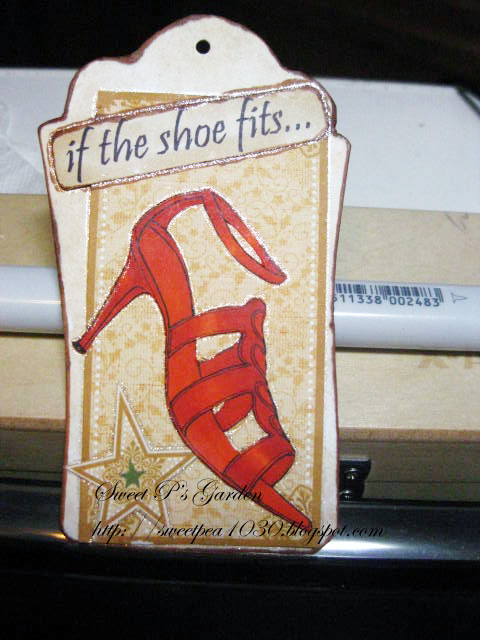
IMAGE: ROBERT JACKSON
PROMARKERS
Pastel Pink
Baby Pink
Cerise
Magenta
Carmine
Satin
You can leave any questions you may have in the comments section. I will do my best to answer them. If you leave a comment with access to your blog, I will be sure to visit you. Same if you become a follower. I often visit my followers' blogs. And, depending on the circumstances, I can color an image to your own color specs, if desired. Whatever you do, just have fun with them. I did.
As always --