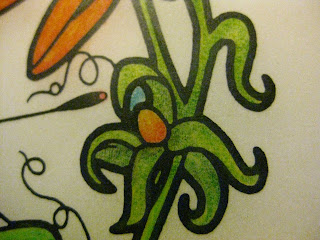
Today's project:
Can you guess what I used to color with? Crayola 24-pk color pencils. Yup!
I got this picture from a book of 16 stainned glass images on vellum to color called "Butterflies & Blossoms" by Dover Publications that I purchased from The Cracker Barrel restaurant. If you've never been to Cracker Barrel, you should go, but not just to eat. Each one has a general store where you can buy all sorts of goodies from days of yore and not so yore.
My lastest go-to book for using color pencils is "The Ultimate Guide to Colored Pencil" by Gary Green. I so love this book. It covers everything you would ever want to know about using colored pencils, from the types of pencils available, to tools, to techniques, to color charts of some of the most popular brands of pencils. It's in a hard cover binder so it lays flat and comes with a 55-minute DVD where the author leads you from start to finish on drawing and coloring a rose.
Watching Gary on the DVD clarified techniques and terms related to colored pencils. This was money well spent. And improvement is immediate.
Here are the tools and techniques I used for this project.
/1
White vinyl eraser
\2
Kneaded eraser
Kneaded erasers are to colored pencils what colorless blenders are to Copics. They're like clay, and you can make them as large or as small as you want, small enough to get into the tiniest of spaces. To clean the eraser you just knead it like clay, so you can use the over and over again.
/3
Light box - Martha Stewart Craft Station
The darker pictures have the light on my MS Craft Station turned off.
/4
Techniques:
In these next pictures you can see the debris left by the pencil. You use the kneaded eraser to remove the debris, blend colors, and/or remove color.
/5
/6
/7
/8
The following are pictures at various stages of the project. Some have been zoomed in, some are darker or lighter, some show before and/or after blending./9
/10
/11
/12
/13
/14

/15
/16
/17
/18
/19
/20
/21
/22
/23
The finished product is transparent (vellum), intensely colored, beautifully blended, with a smooth and shiny finish.
This project was fun, relaxing, and satisfying. If you have any questions or comments about this project or post, please feel free to leave them. This is a learning experience, and your comments are very helpful and encouraging.
Thanks for stopping by!


You did a beautiful job!! I absolutely love coloring with colored pencils. I haven't done it in awhile, but it's always been one of my favorite mediums. I even think the Crayolas (and Rose Art) pencils are almost as good as the Prismacolor pencils lol
ReplyDeleteThis is a beautiful project. I am so bad at coloring that I just shy away from it. I try to use paper to do that work for me and do a lot of piece work to get the effect I want. I just may have to look into the book and dvd you suggested. I sure would like to be able to do such beautiful work.
ReplyDeleteBeautiful! Thanks for the tips on using the pencils!
ReplyDeleteOh, my goodness! This is gorgeous! Thank you for the details and instructions! You are awesome!
ReplyDeleteCarolyn
http://cccscraproom.blogspot.com